Y’all…the dinner time struggle is REAL, and in all honesty – it just keeps getting harder and harder. {For me at least.} Luckily, not too long ago I got a message from a friend one afternoon asking if I’d like to be involved a freezer meal cooking club. I couldn’t respond with my enthusiastic “YES!” soon enough. Yes, when, tomorrow? I’m in!
Can you tell how desperate I was? My friend slowed me down and explained the “rules”, and our group has been swapping freezer-friendly meals ever since. So, if you’re struggling with dinner time and have a few friends nearby that are in the same stage of life as you – there is no better time to start than now. Seriously, with summer just around the corner, who wants to spend those warm summer nights slaving over a stove when you could just pull something out of the freezer and throw it into the crockpot? I’m telling you, the time is now!
So how do you start a freezer meal cooking club? Well, it’s about as easy as can be, but there are a few things that you’ll want to sort out before you get started.
1. Reach out to family/friends who may want to join your club. There is no set number needed – you will just need to make sure that if there are 10 people in your group, everyone is okay with making 10 meals to exchange. {Note :: They should be fine with this when they realize they will in turn be receiving 10 meals as well!}
2. Lay out some ground rules for the club. You’re in luck, we’ve got a basic printable below with some rules that will help get you started in no time. Of course, you can tweak these to meet the needs of your group as necessary. After all, we’re not the freezer meal club experts – we just want to make this as easy and fun as possible for you and your club.
3. Set up a date and time to exchange. This is the fun part! Your exchange can be as simple as meeting for coffee, or you can make it an all out girls night. Lord knows we don’t get nearly enough of those these days! It’s your club, you decide and make a plan!
4. GET TO COOKING. Lastly, it’s time to decide on what you’re going to make, pick up all the ingredients, and then get to cooking. It’s important that you pick something relatively simple as you’ll be replicating it for each member of your group. Think family favorites and something you know your friends and their families will love. If you need some suggestions, check out our slew of recipes right here on Houston Moms Blog.
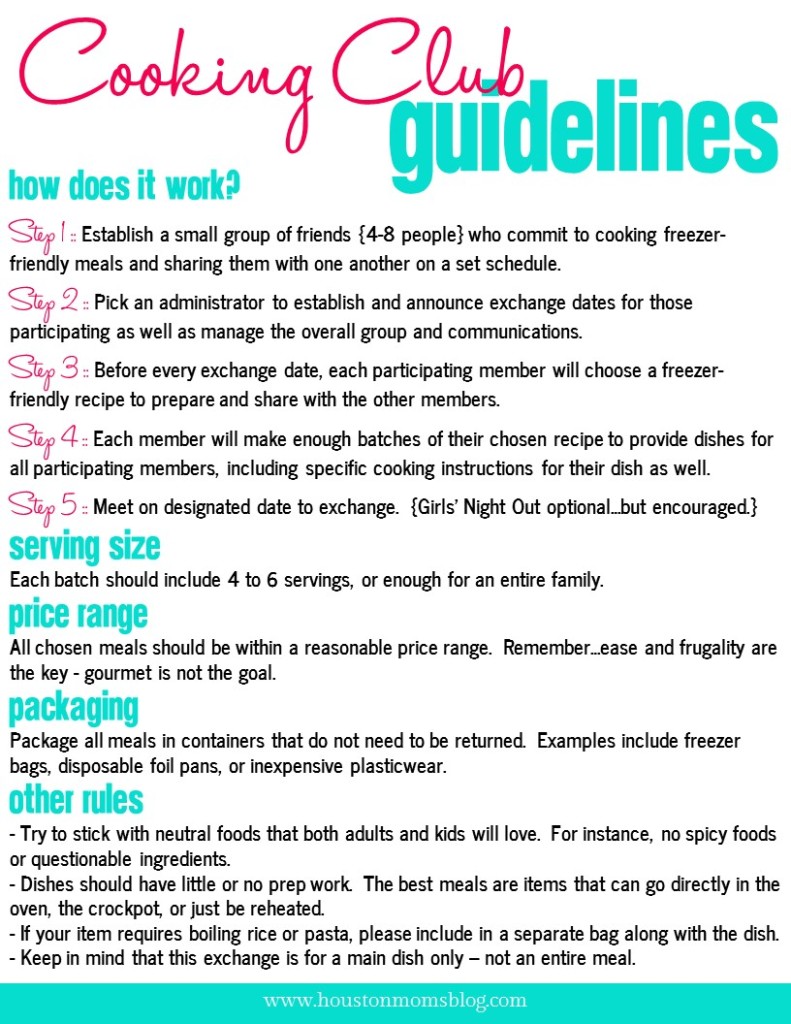
Click here for PDF download.
For our first swap, I chose one of my go-tos – Oven Tacos. I initially found the recipe through Pinterest and it has been a big hit with family and friends ever since. You can check out the recipe here, or if you want to live on the wild side of life, you can follow my less formal step by step below. If you follow my instructions, do so at your own risk…and don’t say I didn’t warn you that I’m no Ree Drummond. {Although I totally wish I was some combo of her and Joanna Gaines…right? Ha!}
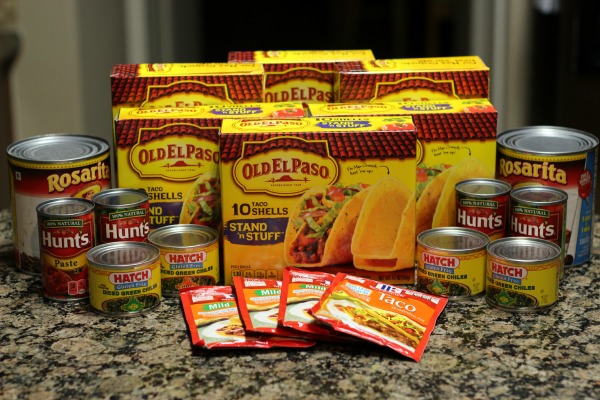
Ingredients ::
{**Remember that these ingredients will need to be multiplied by how many ever members there are in your cooking club. In my case, I quadrupled this recipe to cook for four families!**}
2 lbs ground beef
1 packet taco seasoning
1 8 ounce can tomato sauce {Note in the picture you see tomato paste and not sauce. Sometimes I live on the edge and try to grocery shop from memory. When I do, these are the things that happen.}
1 can small diced green chilies
1 16 ounce can refried beans
2 packages of taco shells
2 cups mexican blend cheese
1 small diced onion
{Some optional ingredients/toppings include :: lettuce, tomatoes, sour cream, guacamole, salsa, etc…}
Directions ::
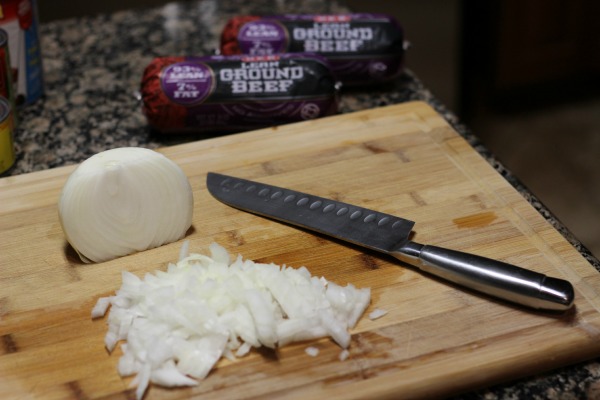
- Dice that onion…dice it real good. {Especially if you’re preparing this meal for a family with children. We all know kids are weird and don’t take kindly to “foreign objects” in their food. Remember the flowchart???}
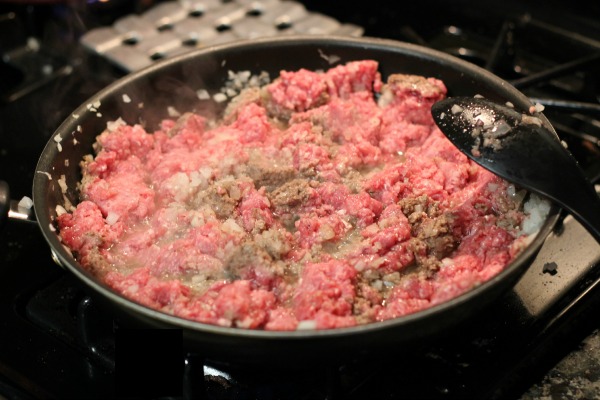
- Brown the ground beef and diced onion in saute pan.
- Drain ground beef and onion mixture and return it to the pan. Add in refried beans, green chilies, taco seasoning, and tomato sauce. Mix well.
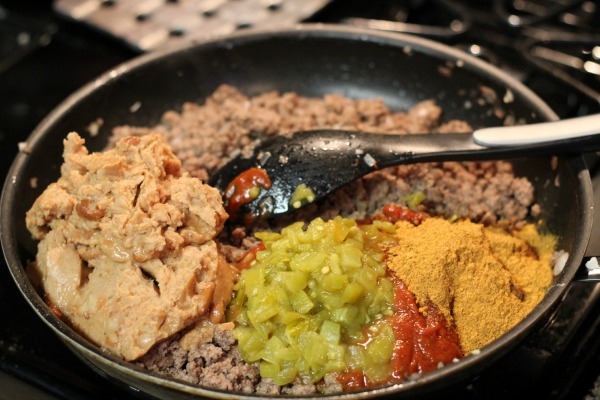
- Normally at this point, I would get out a deep baking pan, line up my taco shells, fill them with the meat mixture, top with cheese, and send them in the oven for proper cheese melting. But since these meals are heading to a friend to either be enjoyed right away or stored in the freezer, I transferred them to freezer friendly disposable baking pans.
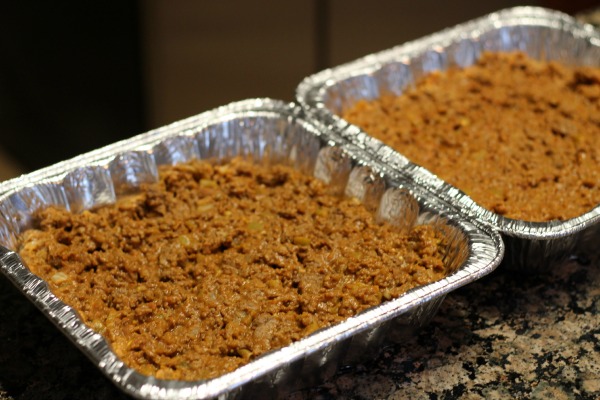
- Lastly, I let them cool before adding the lids and re-heating instructions. Then it was time to pack up the meat, 1 bag of Mexican blend cheese, and 2 packages of taco shells for each member of the group.
For our first swap, we exchanged meals at our weekly small group Bible study because we just couldn’t find the time to make it a mom’s night out this time around. I’m hoping next time and after baby number two makes her debut we can make it a girl’s night with wine and chocolate!
I hope you’re encouraged to start your own cooking club, and if you already do something similar with your friends, tell us all about it in the comments below. I’d love to hear about how other families deal with the dinner time struggle!




I love freezer meals. I created 40 crock pot freezer meals. I love them because they are in sets of 5 recipes and you can spend 1 hour in the kitchen each week and you have 5 dinners that are done! http://www.savingyoudinero.com/2014/10/21/40-slow-cooker-freezer-meals-printables/
What are the re-heating instructions for this meal? 🙂