


")


The Autumnal Equinox on September 22 of this year marks the beginning of the delightful season of leaves changing color, pumpkins being harvested, and days growing shorter. For some of us, the changing of the season is an excellent excuse for arts and crafts!
While so many of those seasonal changes are taking place outdoors, these 5 Simple Fall Crafts can help bring some of that fall spirit indoors. These are quick to make, a bit whimsical, fun for adults and kids, and budget- and eco-friendly, using upcycled, repurposed, thrifted, and found materials.
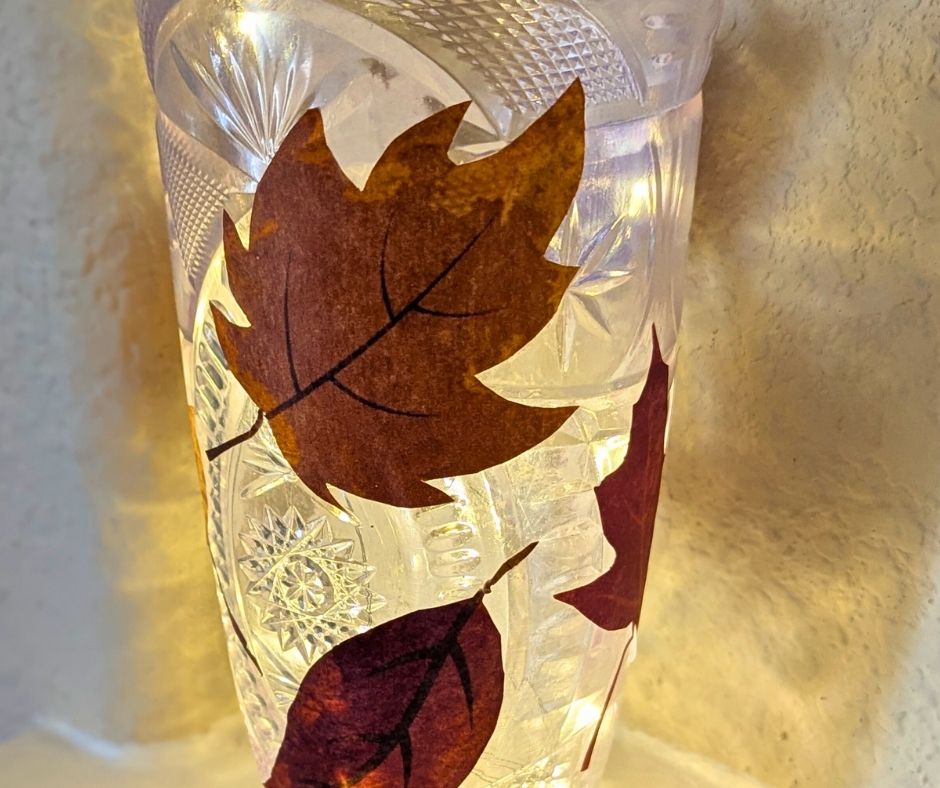
Fall Leaves Lantern
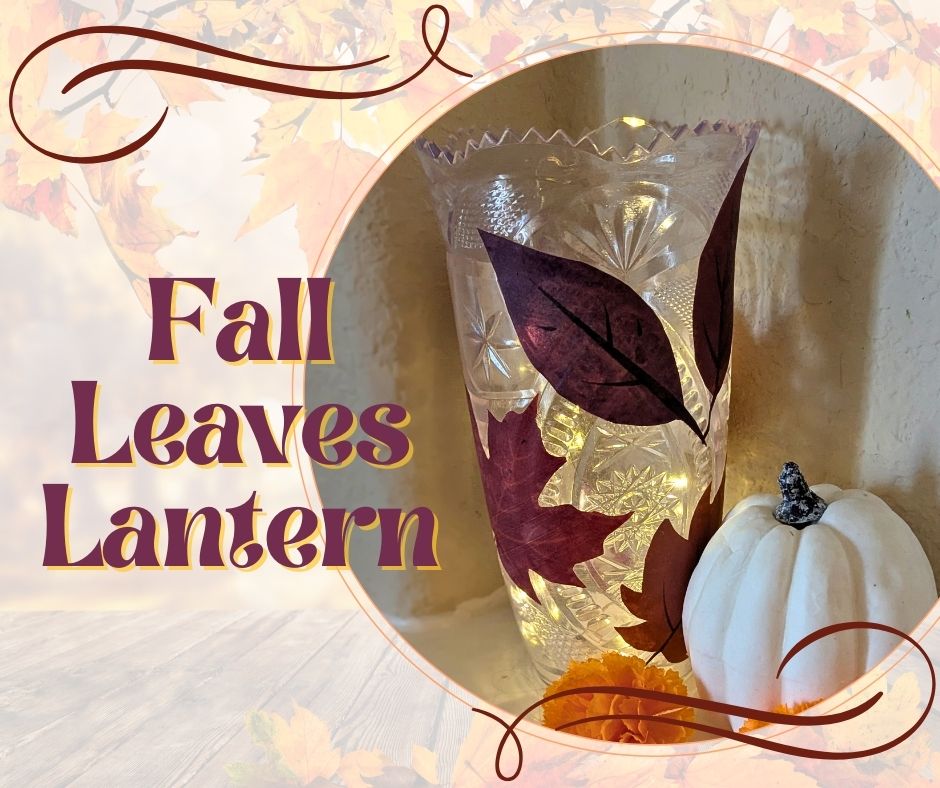
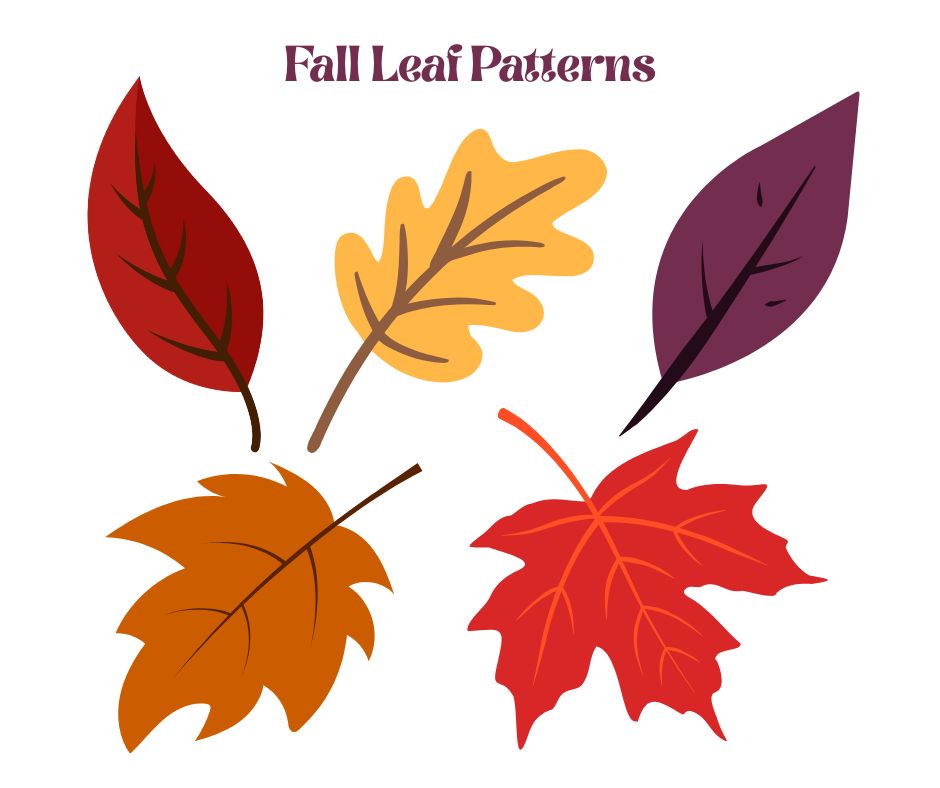
This lantern’s soft glow around leaf silhouettes is like a concentrated dose of autumn. You can create this effect using fallen leaves or printable ones {graphic below}, some twinkle lights, and a clear vase.
Materials

- Fall leaves. Collected from outside or using the printable pattern below.
- Clear vase or jar {on-hand or thrifted}
- Twinkle lights, fairy lights, or LED candle
- Mod Podge or glue + water solution
- Paint sponge
To make ::
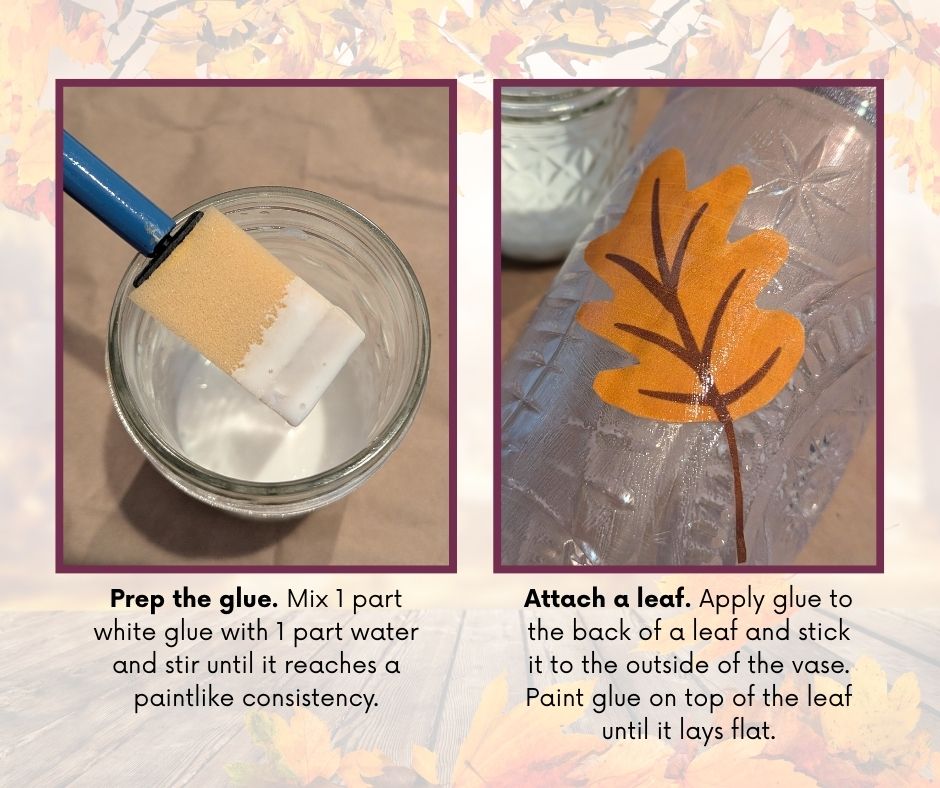
Prep the glue if needed. If Mod Podge is not in your craft cabinet, make your own by mixing 1-part white glue with 1-part water. Stir until it reaches a paint-like consistency. If it’s too runny, add more glue. If it’s too thick, add more water. For this project, I mixed approximately 1 fluid ounce of each and had some left over.
Prep your leaves. If using the provided graphic, resize the image as needed to fit your jar or vase. {For my 8″H x 4″D vase, I printed two 8×10 images and used 7 leaves.} Cut out the leaves so no white edges are visible. If you are using fallen leaves, pick your favorites. Make sure they are somewhat flexible and not too dry, or they will crumble and generally just misbehave.
Glue leaves to vase. Paint a thin layer of glue solution on the back of the first leaf and press onto the outside of the vase {or jar} like applying a sticker. Then, gently paint a coat of glue over the leaf until it lays flat. Smooth out any glue blobs. Repeat with the remaining leaves, alternating placement and orientation.
Allow 2-3 hours to dry. Glue is clear when dry. Add twinkle lights or candle and the lantern is ready to display!
Candy Corn Rock Family
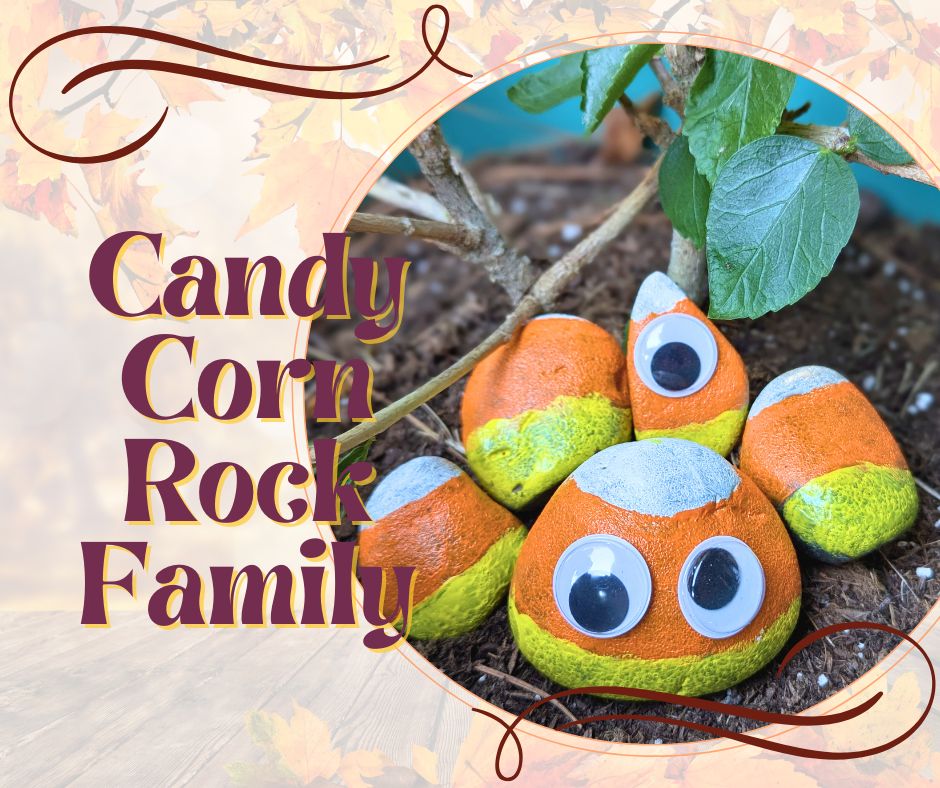
Candy Corn :: You either eat it, or you don’t. But no matter your opinion on the taste, their pyramid shape and iconic white-orange-yellow stripes are staples in fall arts and crafts.
With a little paint on rocks of assorted shapes, a cute little Candy Corn family forms. Display it anywhere you want it. I arranged mine in a potted plant for some instant Fallification.
Materials
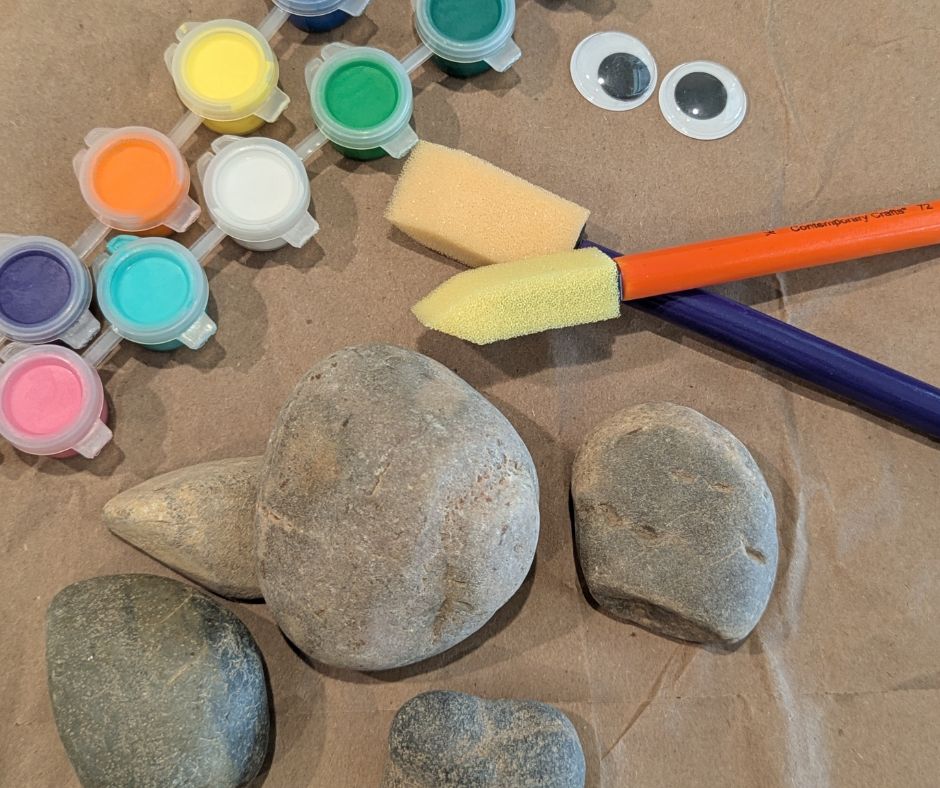
- Smooth rocks
- White, orange, and yellow acrylic paint. {I was able to use some leftover painting sets – *VICTORY* – but if I needed to purchase some, I’d get these pens.}
- Small paint sponges
- Optional: Googly eyes + hot glue
To make ::
Prep your rocks. Dust the surface of your rocks if needed. Orient your rocks so that the narrowest part is at the top.
Paint the tip of the rocks white and the bottoms yellow. Apply 2 coats of white paint to the tip of the rocks, and then 2 coats of yellow paint to the bottom. Allow time to dry.
Paint the middle orange band. Paint a thick orange band across the middle {the orange band will be the thickest of the 3 colors}. Apply 2 coats to each rock. If using a round sponge, roll it across the rock to smooth out the paint lines.

Allow 2-3 hours of drying time. Glue on the googly eyes if you’re using them, then display the Candy Corn Rock family wherever you desire – in a plant, in your garden, or on a shelf.
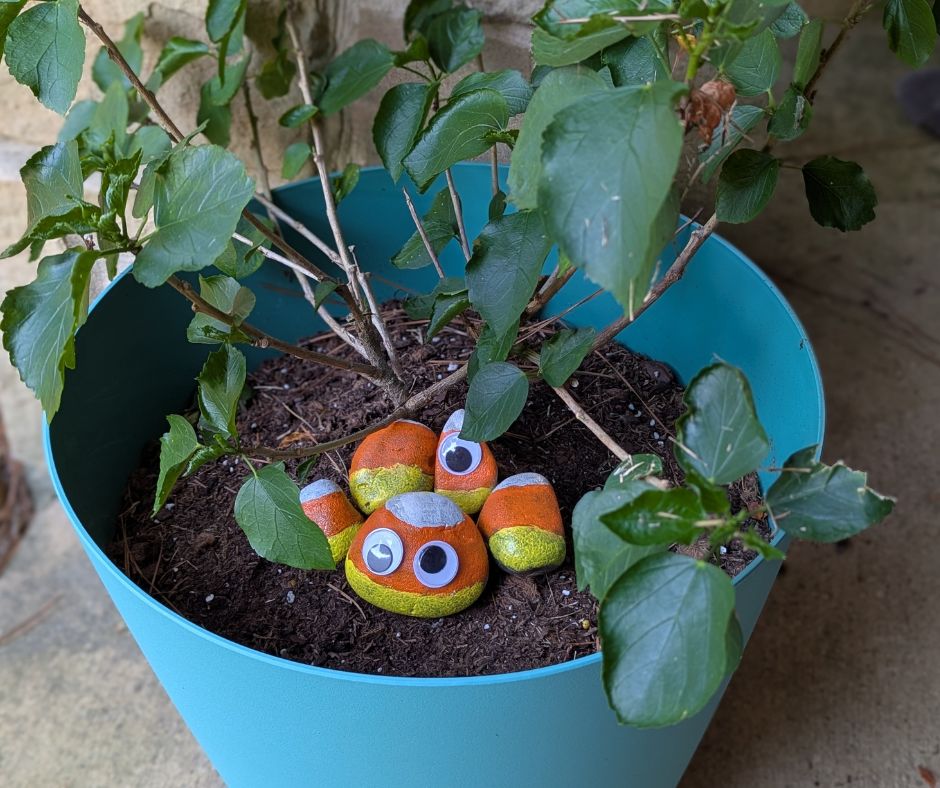 You can either paint around the entire rock, or only the surface(s) that will show when displayed. I left an unpainted “seam” down the back of mine. As you can see, the plant doesn’t mind either way!
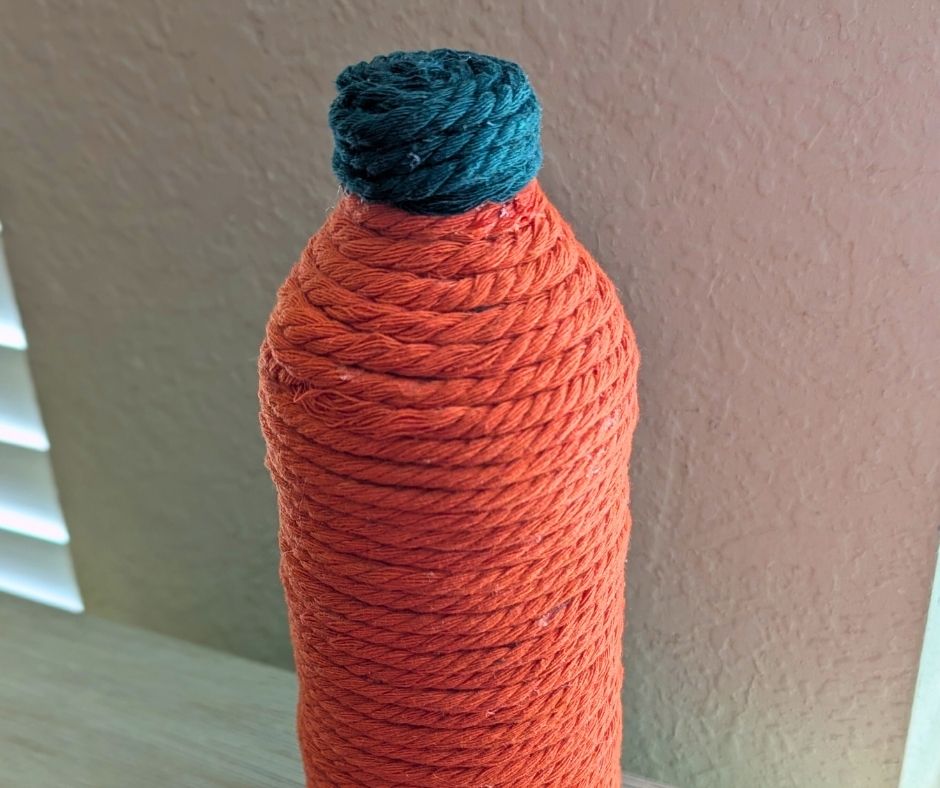
Whimsical Upcycled Pumpkins
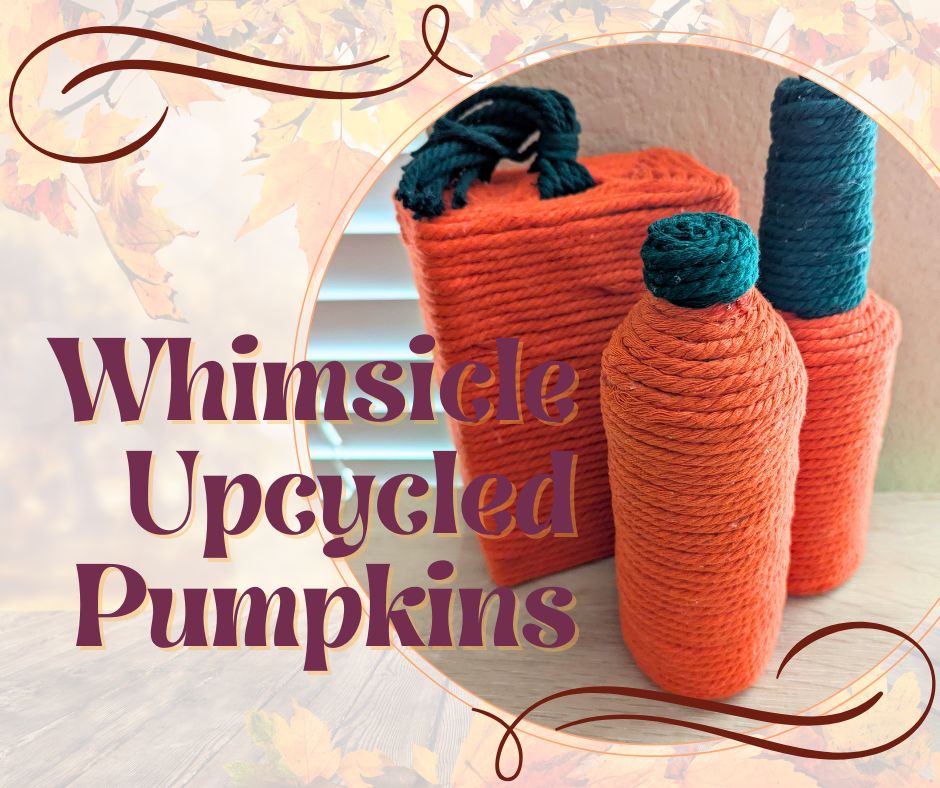
These upcycled pumpkins use repurposed materials – which are among my favorite craft supplies. Made from recycled containers, some scrap cord, and some hot glue, these wonky little pumpkins live by their own rules.
Materials
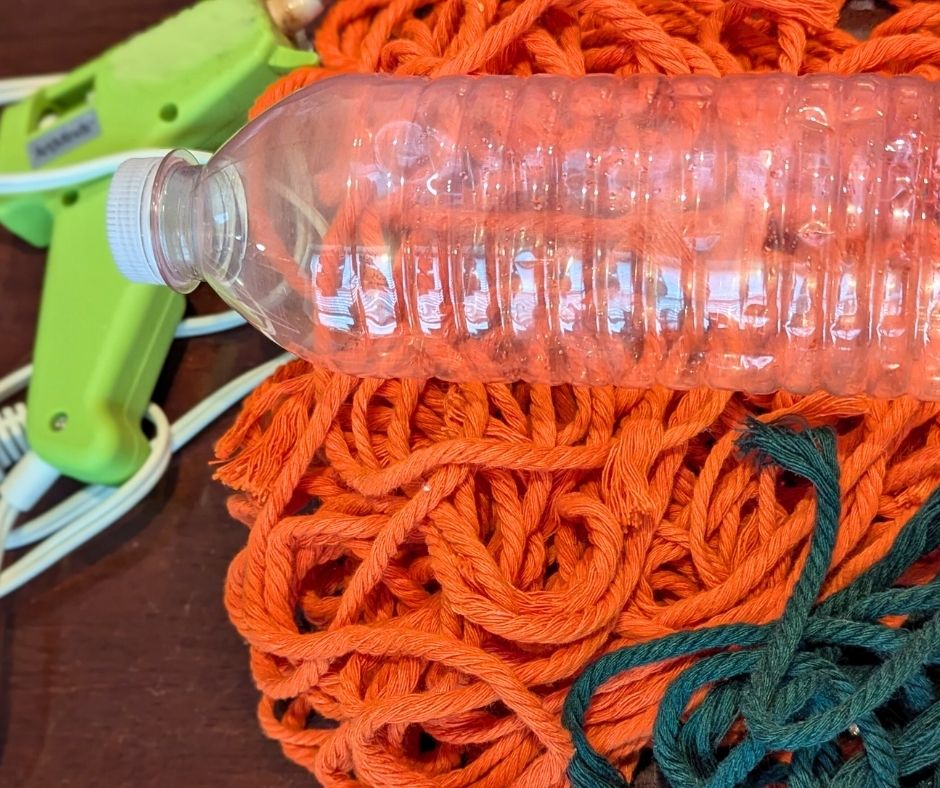
- Empty water bottle
- Orange and green rope or cords {scrap if you have it}
- Hot glue
- Scissors
How to ::
Prep the bottle. Make sure it is clean and dry. {Mine was still drying as I used it. Oops!}
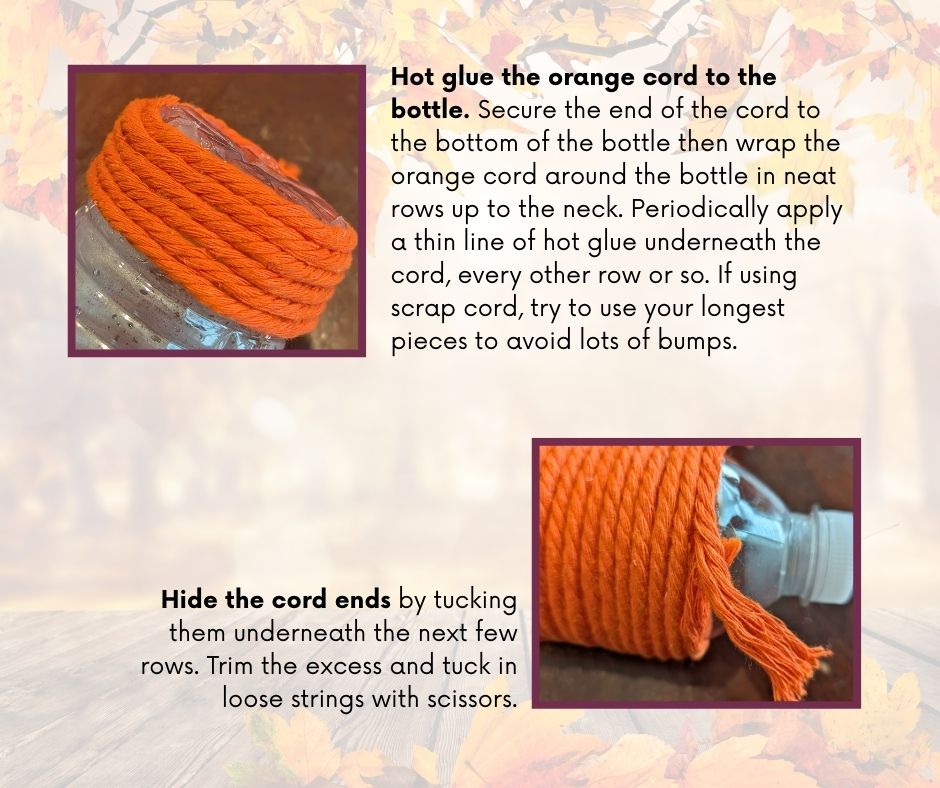
Wrap the bottle with orange cord. Starting at the bottom of the bottle, glue down the end of an orange cord, and wrap the cord around the bottle, fitting each row snugly together. Periodically add thin lines of glue under the wrapping to prevent the cord from moving around. If working with scrap cord, use as many cords as needed {the longer the better}. Wrap the loose cord ends underneath the next couple of rows for a more seamless surface. Continue wrapping the bottle until you reach the neck. Glue the end of the cord in place. You will tuck the end under the green rows you’ll create next.
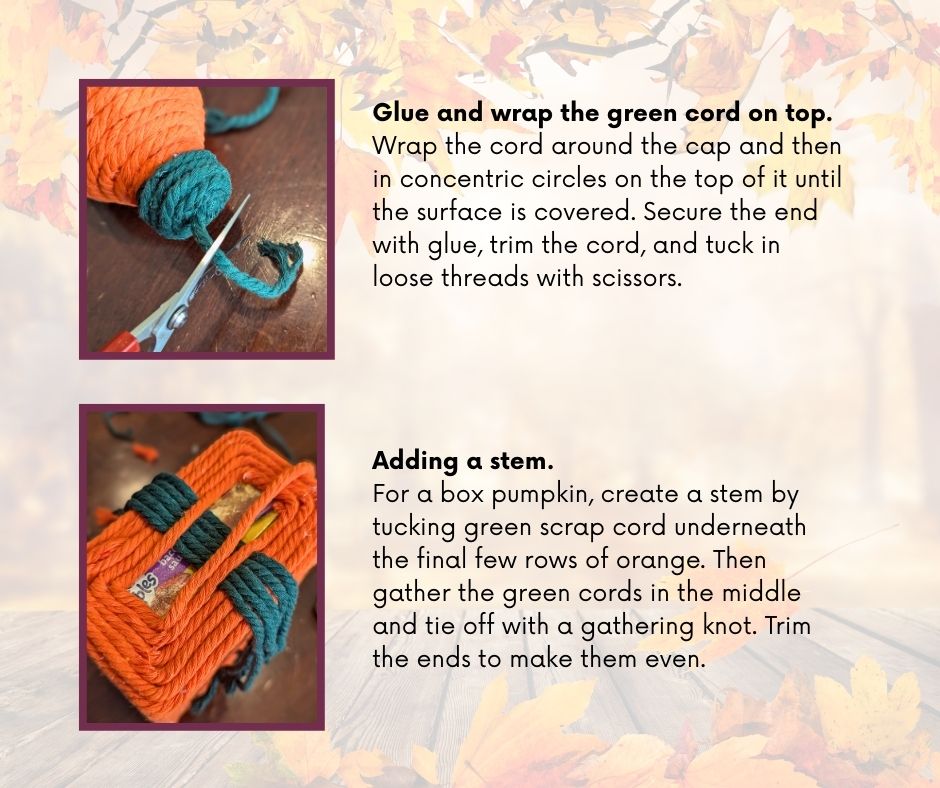
Wrap the lid with green cord. Glue down the end of a green cord. As you wrap, tuck the ends of the orange and green cord under your first couple of rows. Continue wrapping the green cord around the bottle cap and then in concentric circles until the top is covered. Glue the cord to the top of the lid, trim the end, and using the scissors, tuck in loose threads.
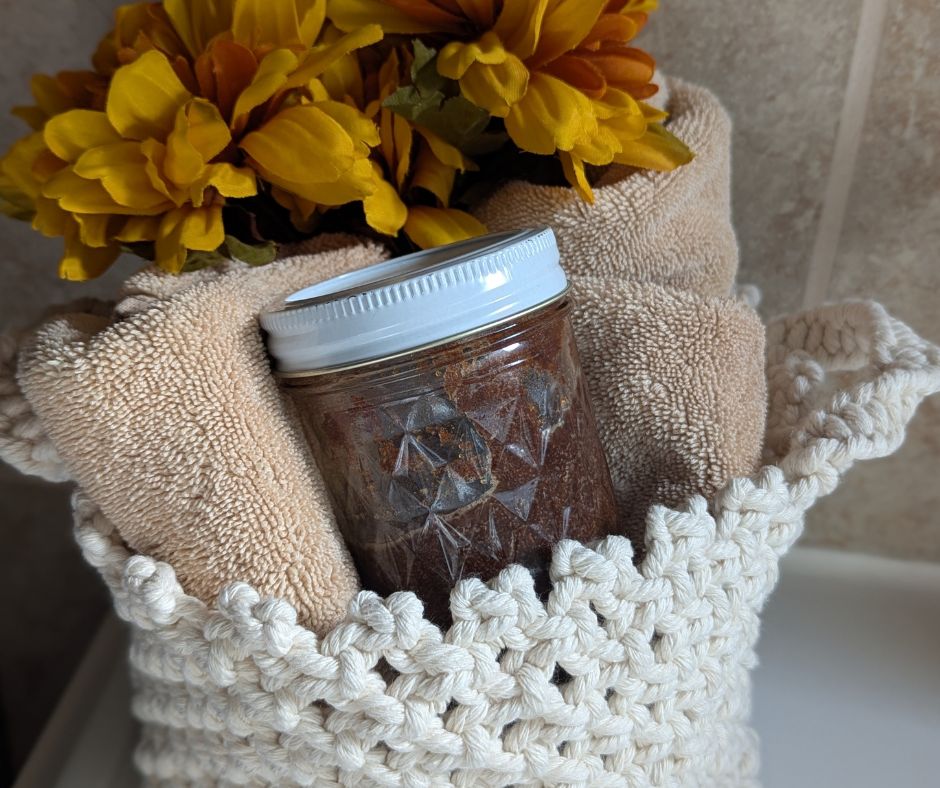
Pumpkin Spice Body Scrub
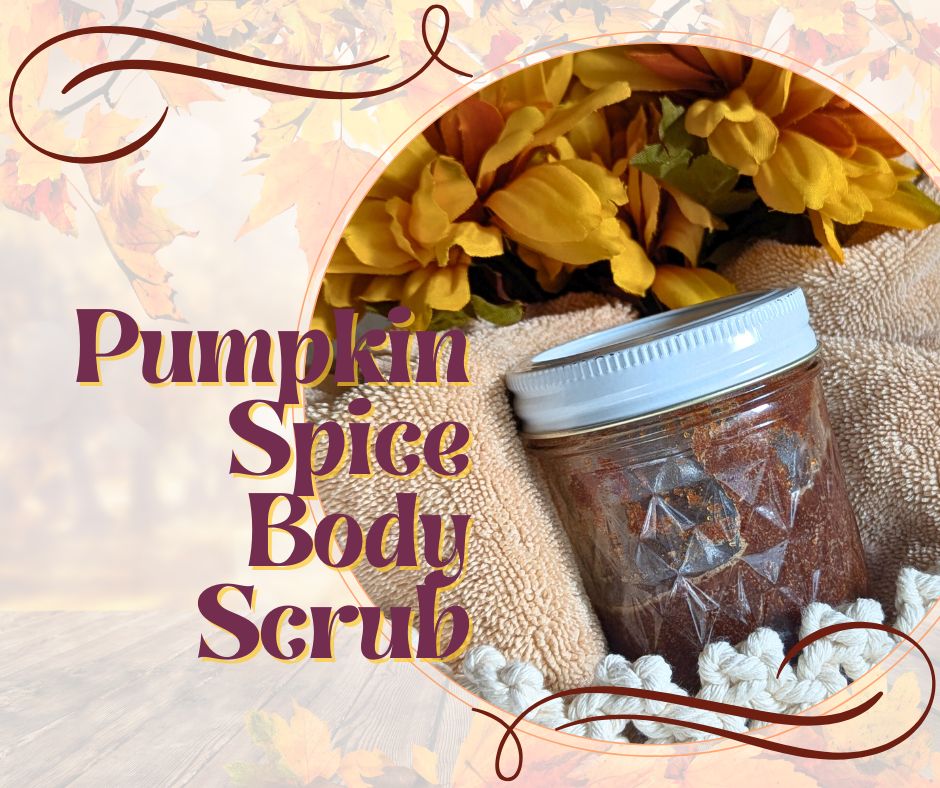
Pumpkin Spice is one of the most iconic flavors of the season. We can eat it, drink it {PSL}, and scent the air with it {candles}. And thanks to this Pumpkin Spice Body Scrub recipe, we can also exfoliate with it!
Materials
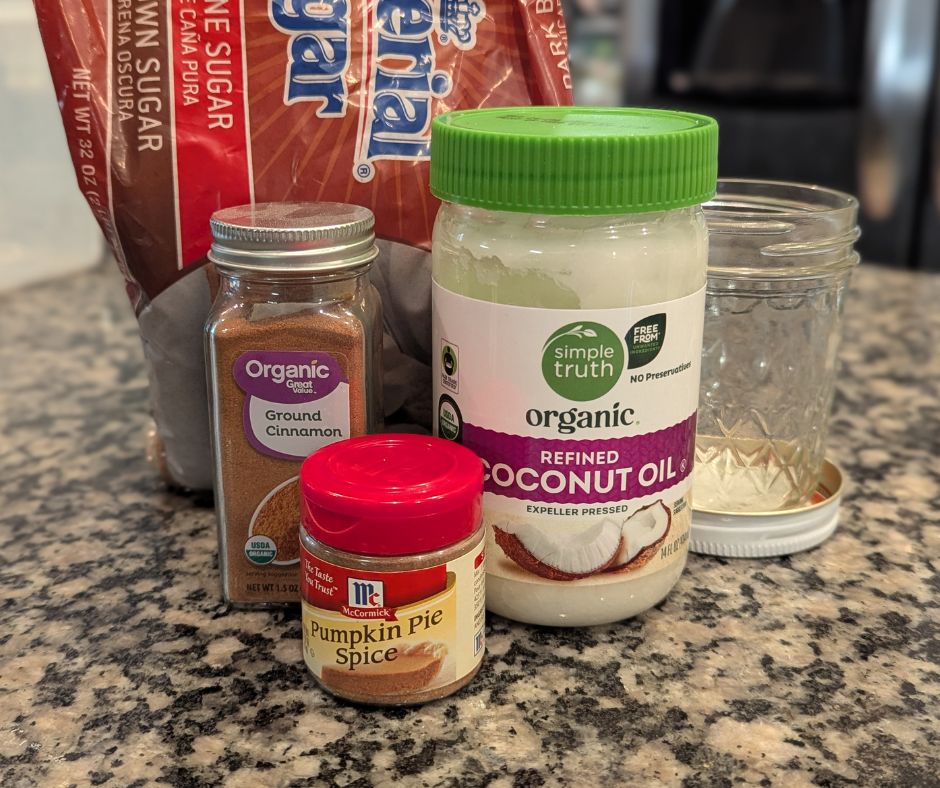
- Storage jar with lid {canning jar, mason jar, or a repurposed jar of coconut oil}
- 1/2 c Coconut oil
- 1/4 c Dark brown sugar
- 2 T Pumpkin Pie Spice
- 1 t Ground cinnamon
- 1/2 t Nutmeg
- Optional: 1/4 t vanilla extract
To make ::
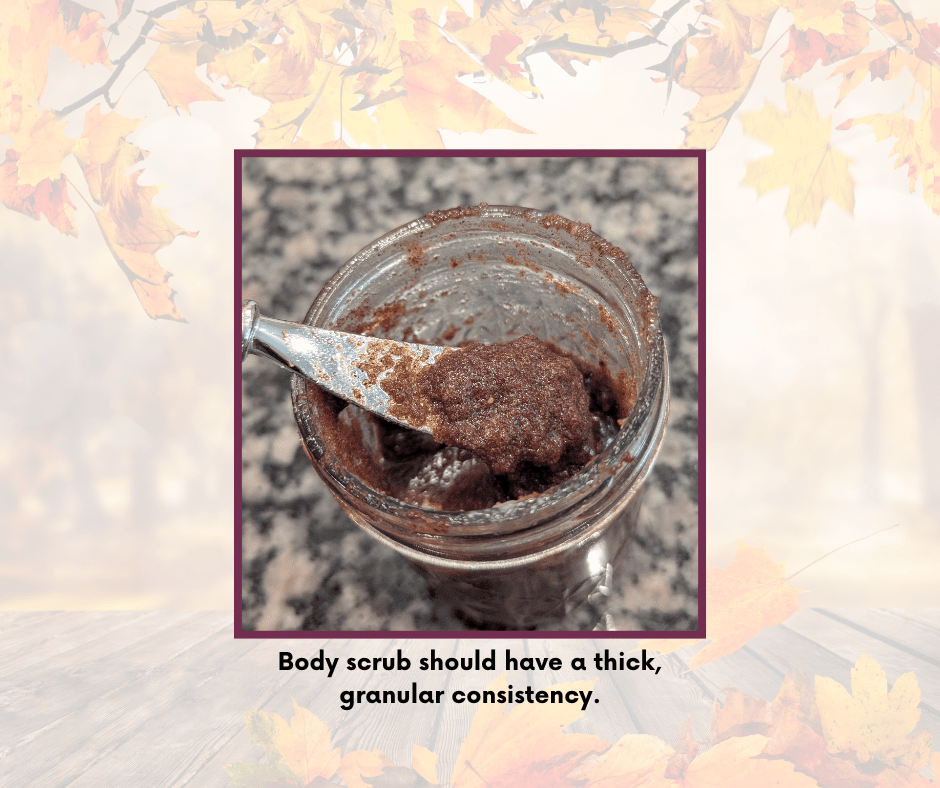
Combine coconut oil, brown sugar, and spices. Measure coconut oil and brown sugar into storage container. Stir until fully combined. Then, mix in Pumpkin Pie Spice and cinnamon. Add vanilla if you want a sweeter scent. Skip the vanilla for an earthy scent. Stir.
Check the texture. If the mixture is too crumbly, add more oil. If too runny, add more brown sugar. The ideal consistency is whipped and granular.
Store covered. Use as you would any other body scrub.
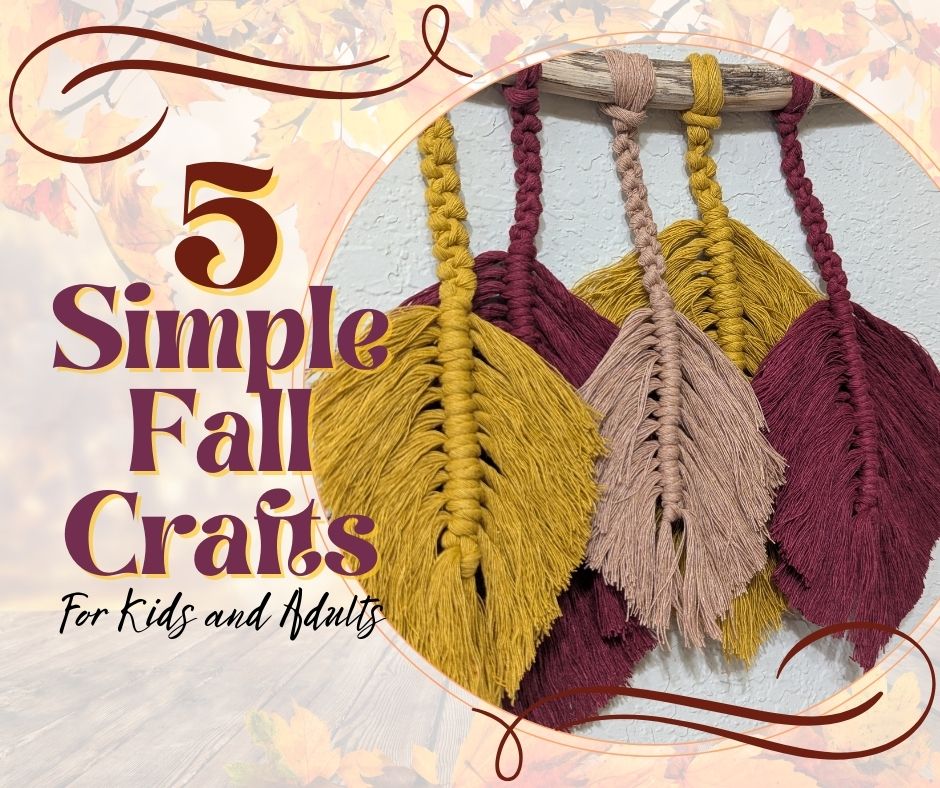
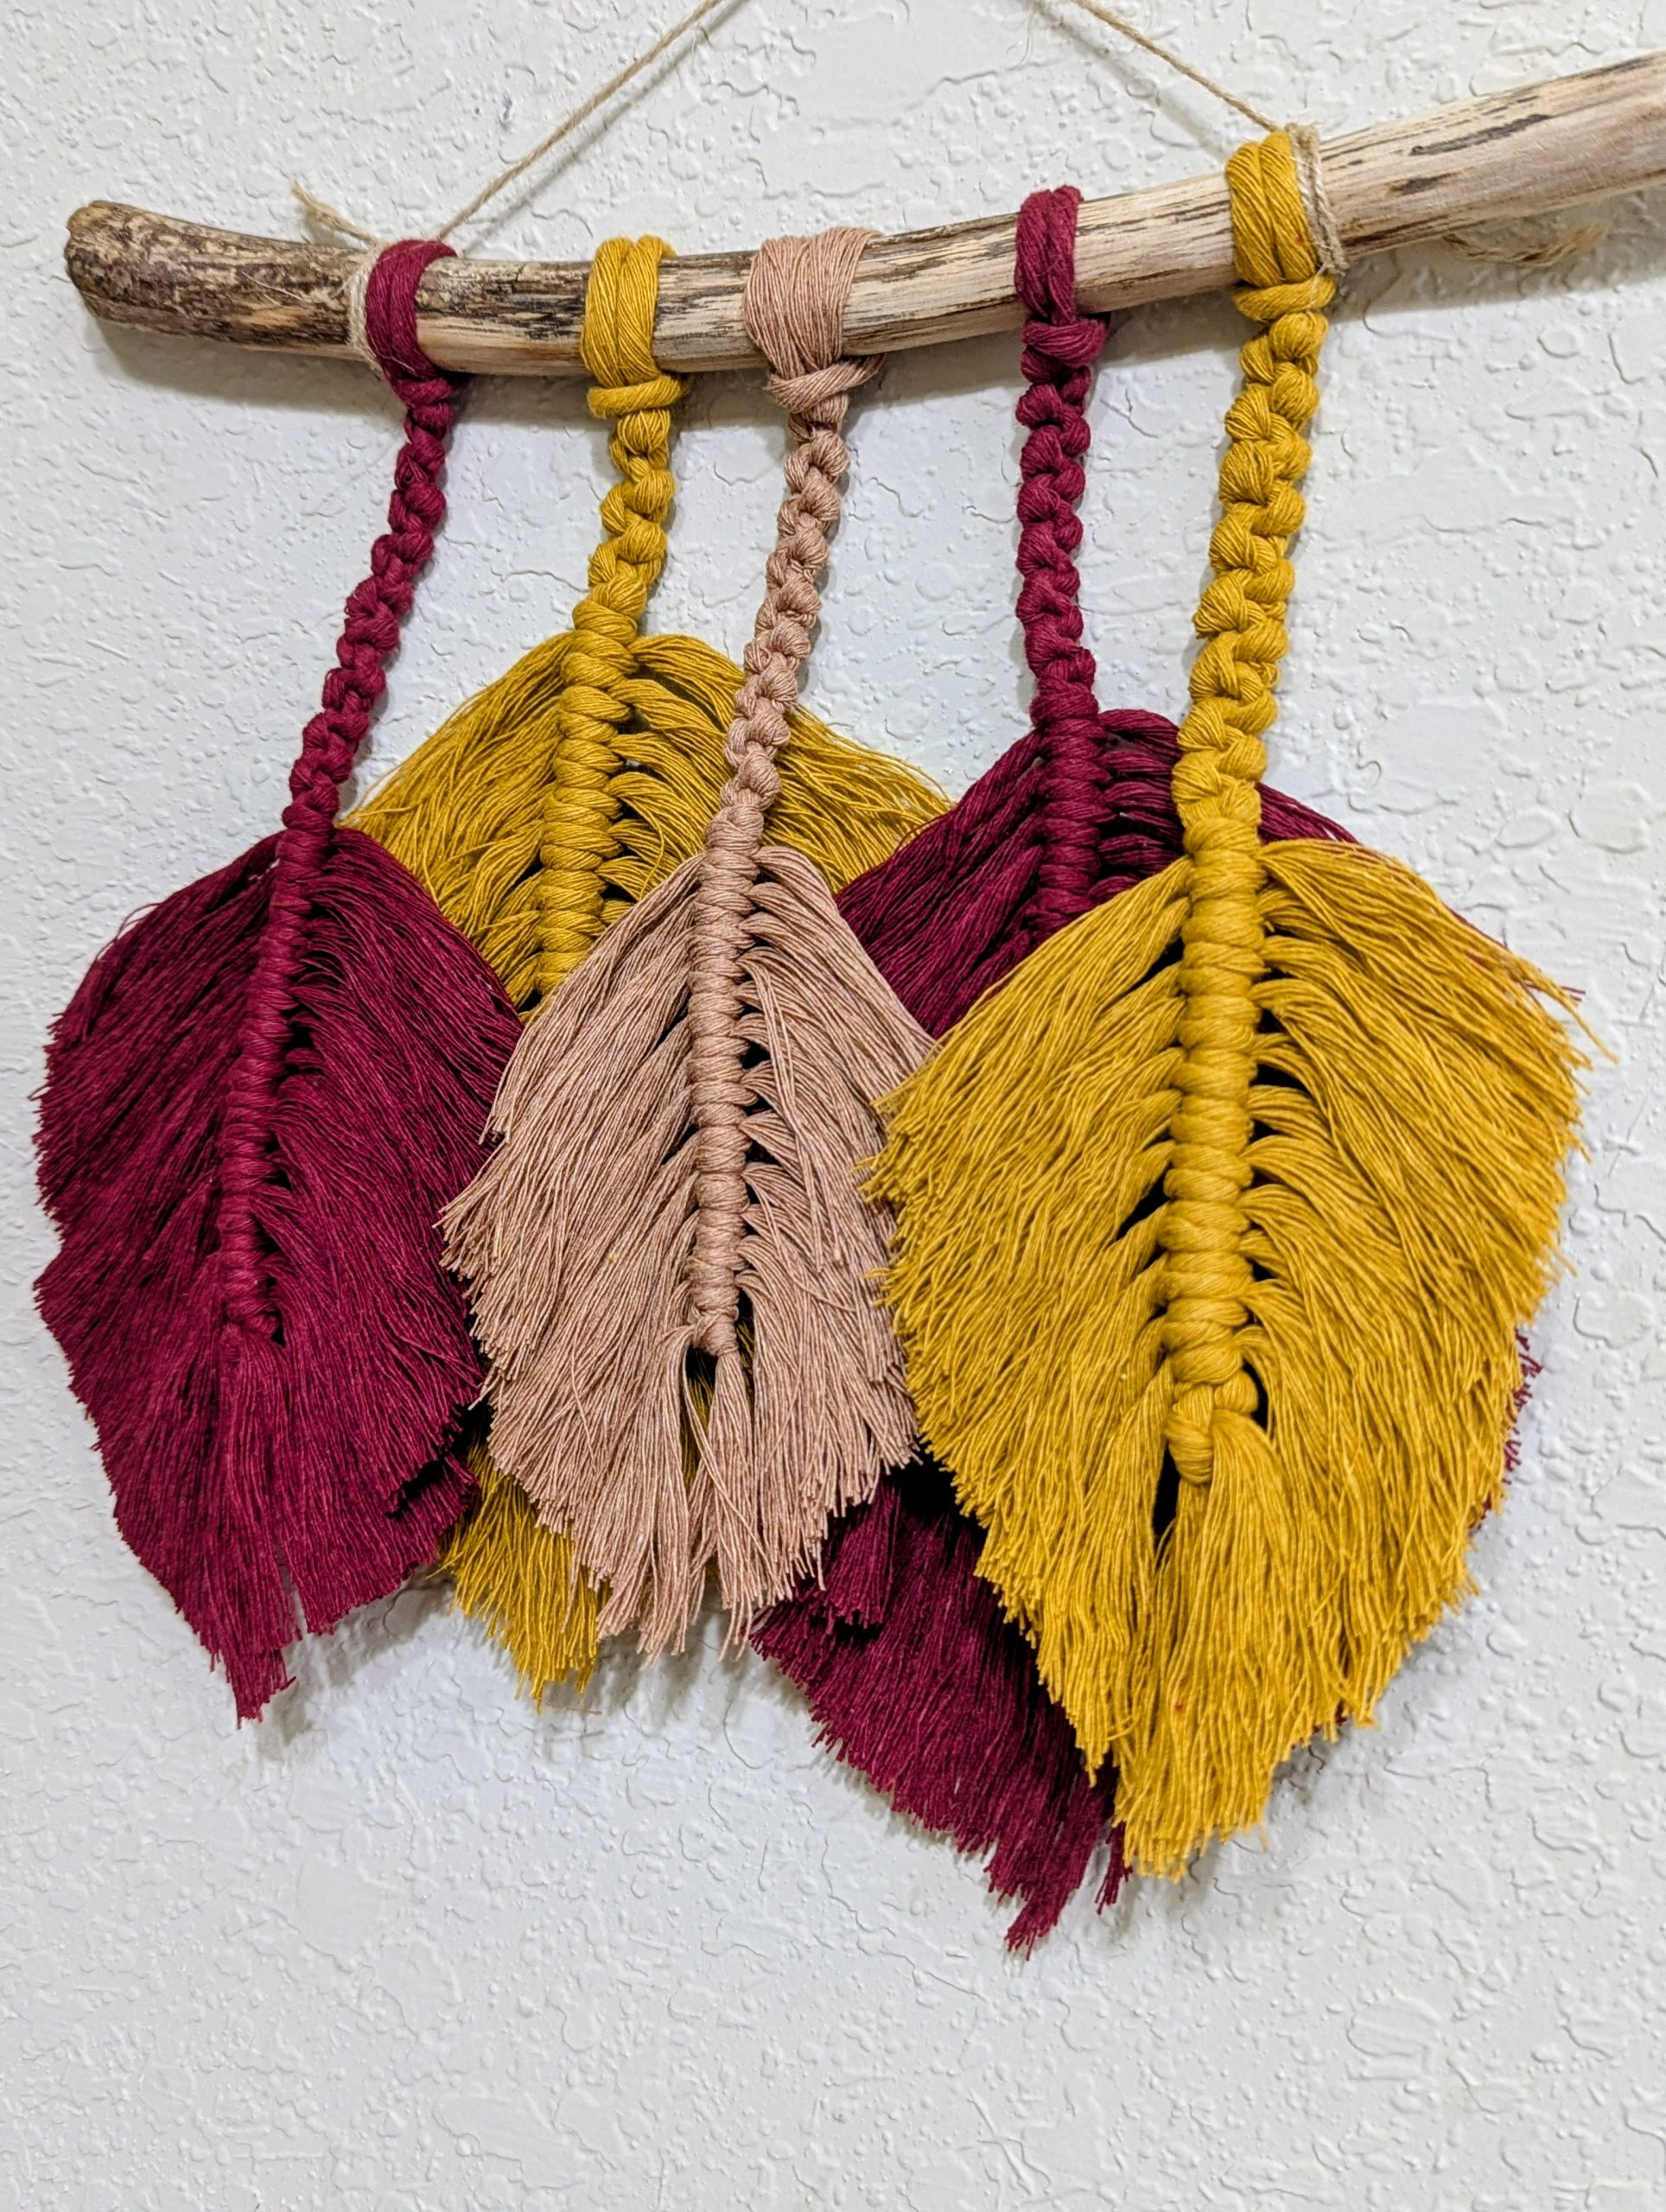
Fall Leaves Mini Wall Hanging
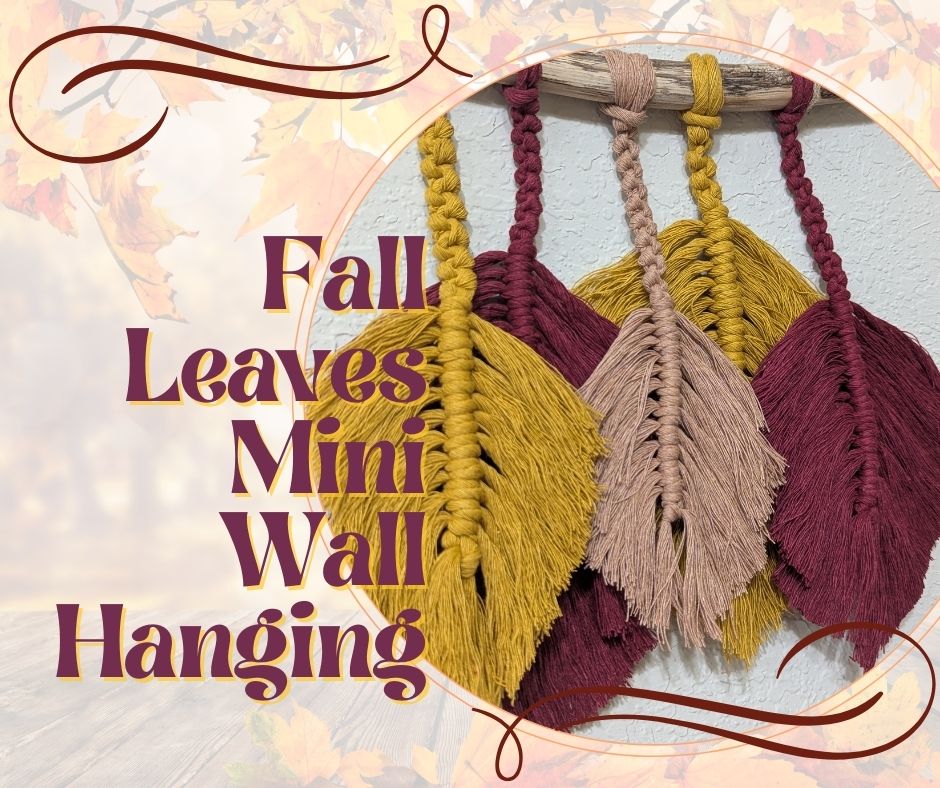
In addition to its natural aesthetic, the best part about this project is the room for customization – from the number and color of leaves to the species and shape of your branch.
This wall hanging utilizes beginner macrame techniques {Lark’s Head and Half Hitch knots} that can be learned quickly using the photo guides or the linked video tutorials below. After learning the steps to make a single leaf, you can then use the same skills to add as many or few leaves as you want. Whether you want a sweet 3-leaf statement or an epic 12-leaf masterpiece, it’s completely up to you!
Materials
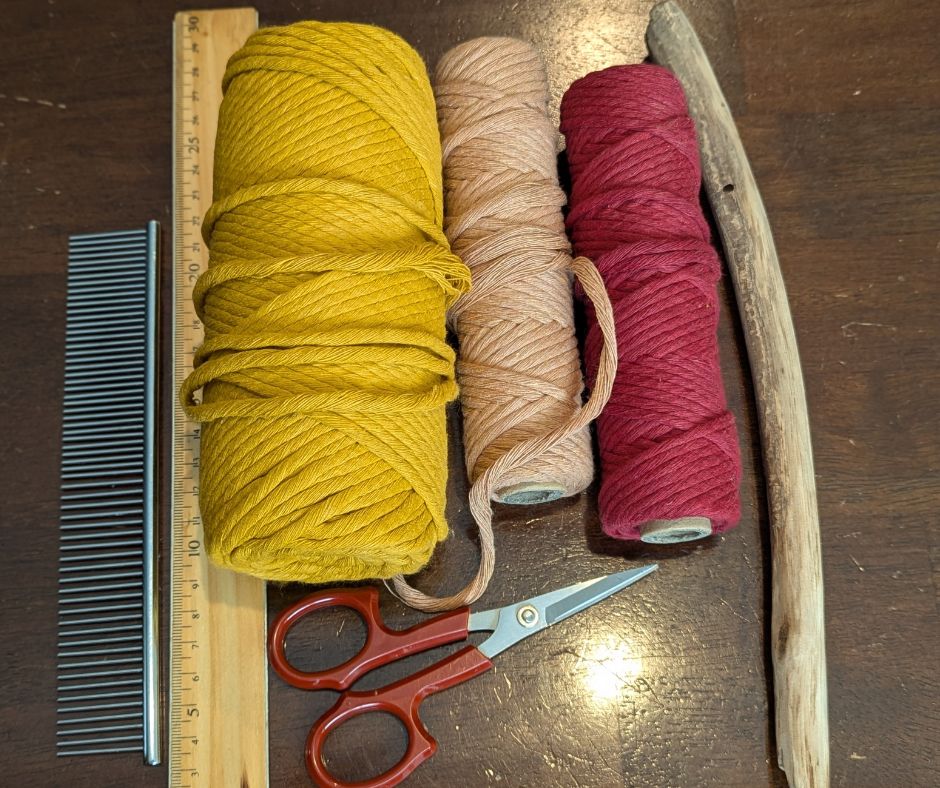
- Single-strand macrame cord in assorted fall colors {browns, reds, oranges}. Lengths of cord vary. See instructions.
- Found branch, approximately 12″ long x 1/2″ diameter
- 80-grit sandpaper
- Painter’s tape
- Ruler
- Scissors
- Fringe comb or brush
- Twine or string for hanging
- Optional: Fabric stiffener spray
To make ::
Prep your branch. Smooth the bark and rough edges of your branch with 80-grit {coarse} sandpaper. I used sanding discs with a drill attachment. Next, dust the branch with a cloth. secure the ends of the branch to your work surface with painter’s tape. Leave a small gap underneath the branch for the cords to go through.
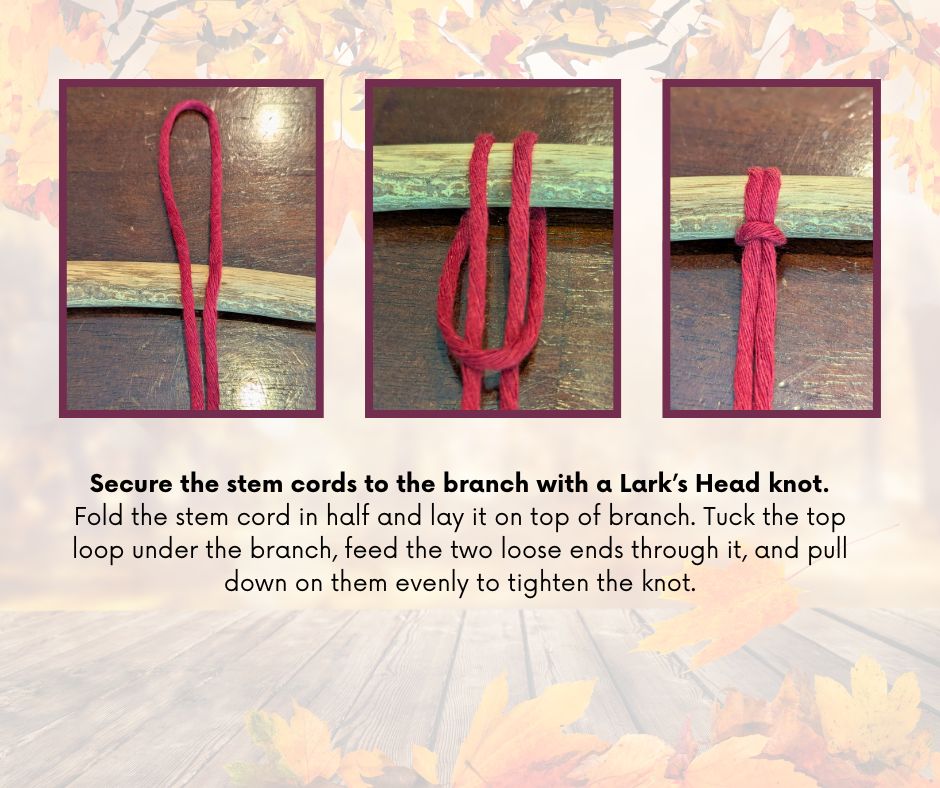
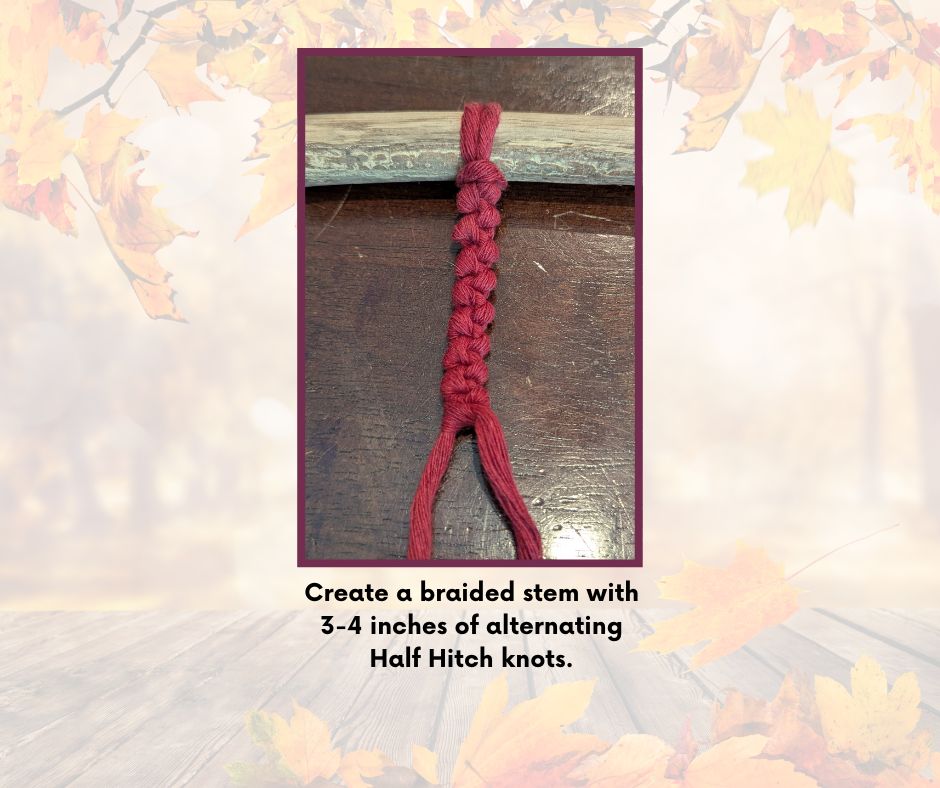
Attach your leaf “stem” to your branch. Cut a 4-foot length of cord and secure to branch with a Lark’s Head knot, also known as a Cow Hitch: Fold cord in half and bring the top loop over and behind your branch. Tuck the two long cord ends through the loop and pull down to tighten.
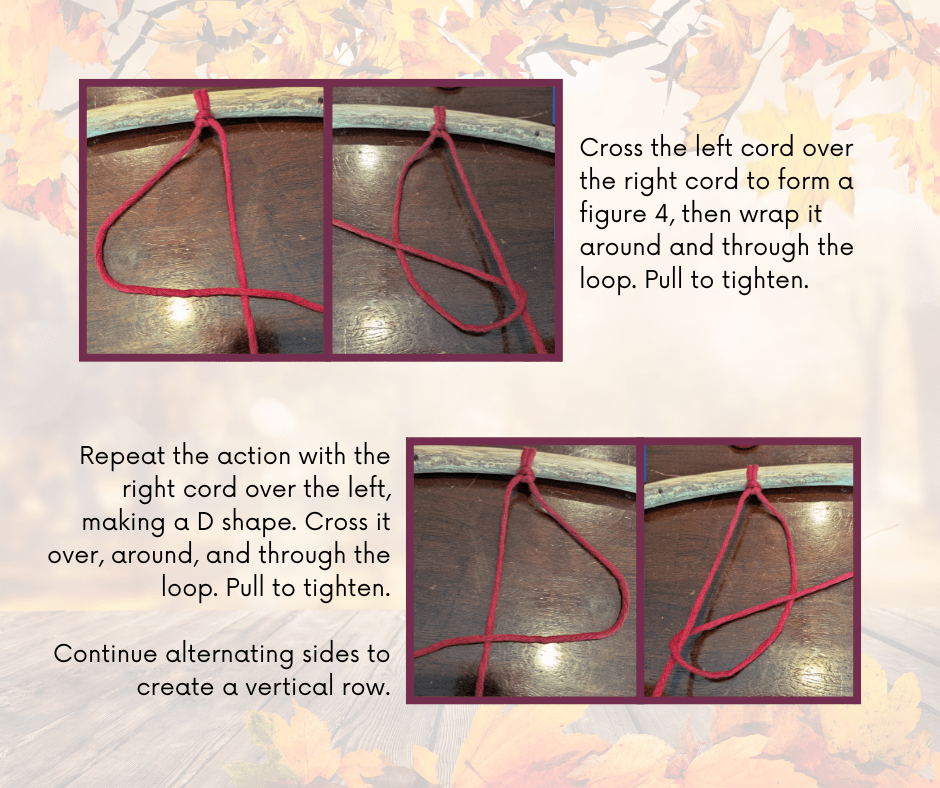
Optional step: Add texture to your stem. Next, tie 3 to 4 inches of alternating Half-Hitch knots: Cross the left cord over the right cord to make a figure 4, the pull the left cord end through the loop and pull both ends to tighten. Then repeat the steps with the right cord: cross over the left cord to create a D shape. Pull the right cord end through the loop in the D and pull both cords to tighten against the previous knot. Continue alternating to create a vertical row of knots.
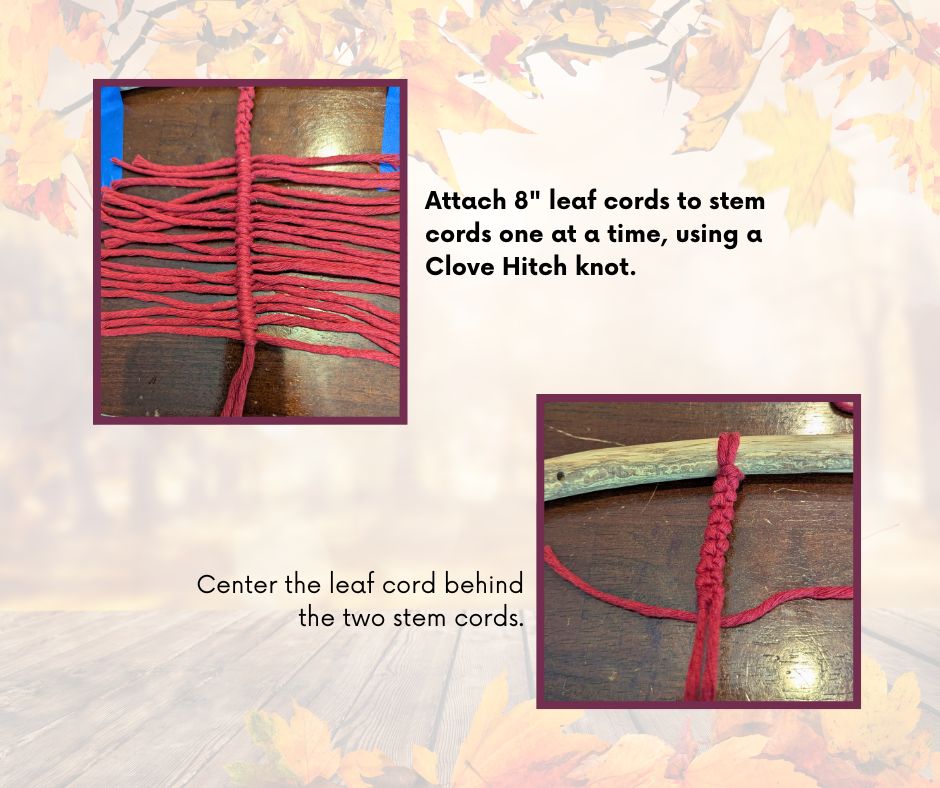
Attach the leaf cords. Cut twenty {20} 8-inch lengths of the same color cord as the stem. Attach each cord one at a time to the stem using a vertical Clove Hitch knot: Center the 8-inch cord under the stem cords. Take the right cord end, fold it over and under the stem so that it crosses over itself in the back. Then repeat that motion over and under, pulling the end through the loop created. Pull both cord ends to tighten the knot. The cord ends will hang loosely on each side of the stem for now. Pinch the knot and slide it up your stem so it fits tight to the previous knot. Repeat to attach remaining leaf cords.
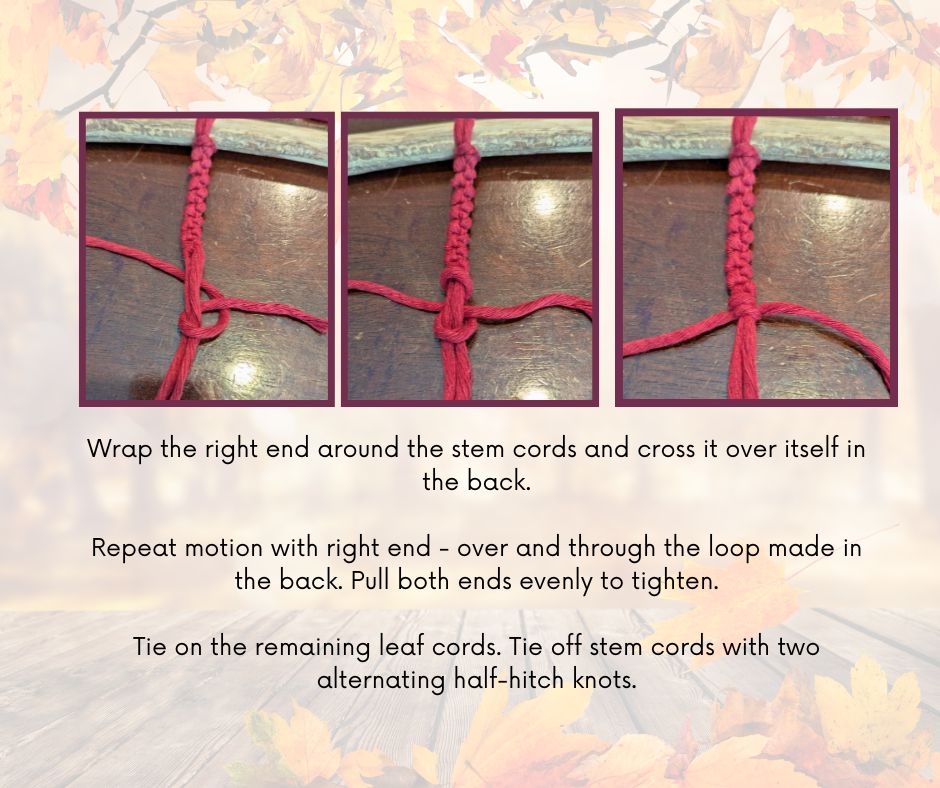
Tie off the stem. Using your two stem cords, tie two more alternating Half-Hitch knots. Pull cord ends to tighten.
Brush out the cords. Using a brush or fringe comb, carefully brush out all the cord ends until fully separated. Lay them flat on your work surface. {Spray the ends with a little fabric stiffener if you have it – I find this makes them easier to trim.}

Trim ends into a leaf shape. Using sharp sewing scissors, trim the sides into a leaf shape with a tapered tip. Brush out the cords again, and trim off loose strings. Repeat until your edges are nice and even.
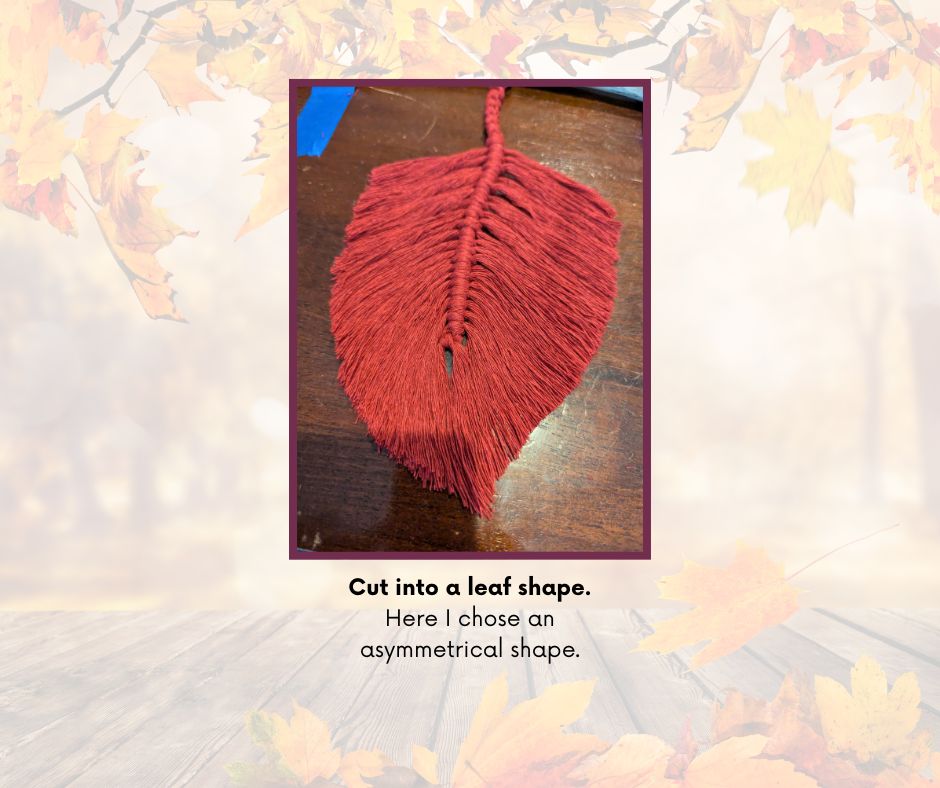
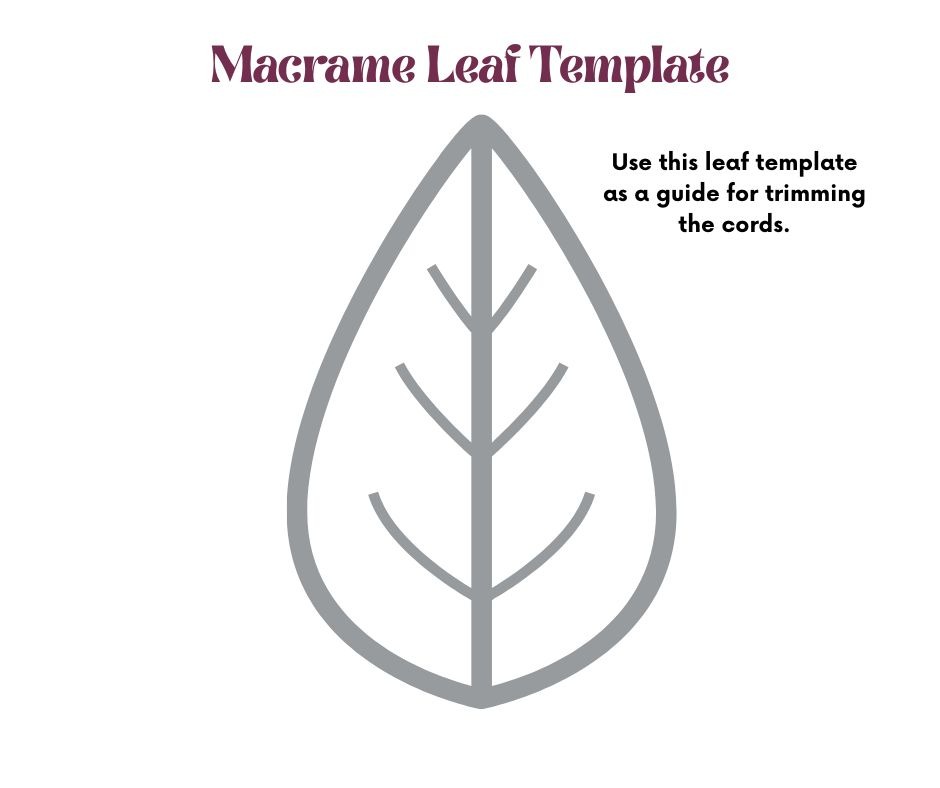
If eyeballing a leaf shape doesn’t work for you, use the template below. Print it, cut it, place it on top of your leaf, and cut your cords around it.
Optional step: Spray the leaf to maintain its shape. Brush out the leaf again and lay it flat on a covered work surface. Spray a light coating of fabric stiffener or max hold hairspray.
Add the remaining leaves. Repeat the steps to attach the stem and leaf cords for as many leaves you’d like to use. Alternate stem cord lengths between 3-4 feet for a nice layering effect. For shorter stems, less leaf cords will be used. {My largest leaf has 20 cords and the smallest leaf has 12 cords. The other leaves are somewhere in between.}
Attach twine for hanging. Cut a 1-foot length of twine and tie it to each end of the branch. I used this one, but you can use any slim scrap of cord you have on-hand. Hang the leaves and layer them however you like.
What simple fall crafts are you making this fall?
")

